How to Plan a Photo Shoot
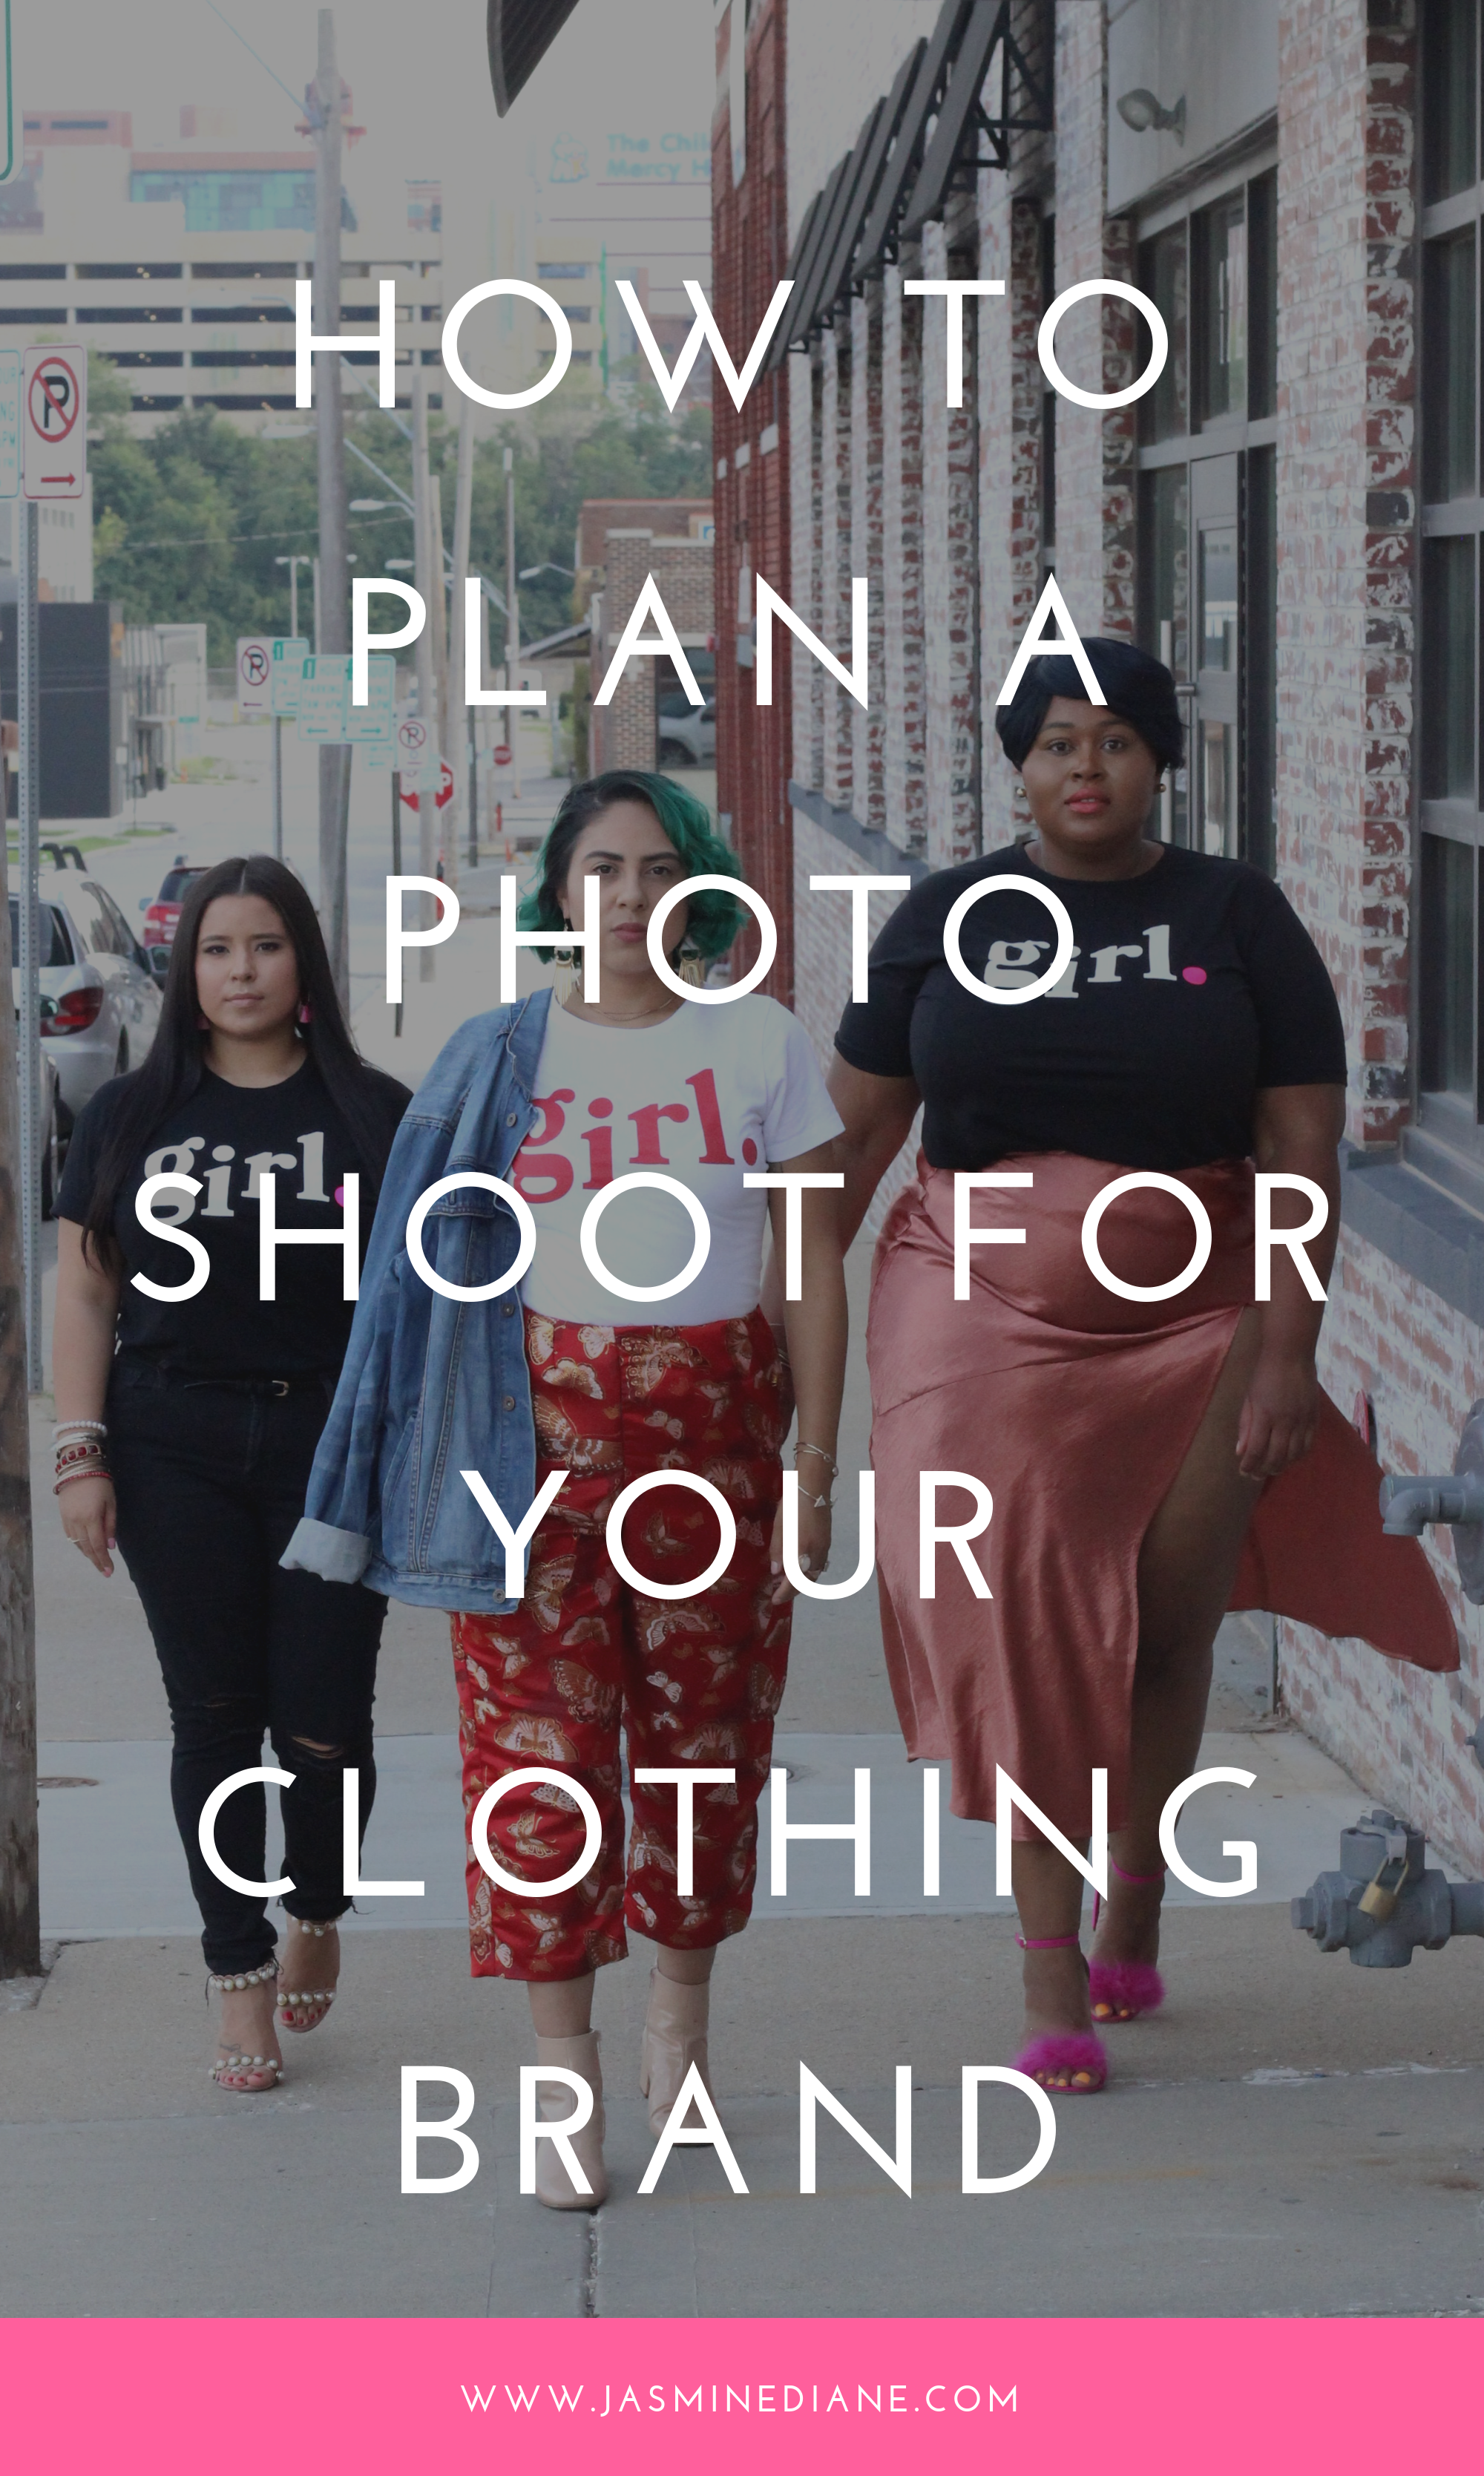
Planning a photo shoot for your clothing brand doesn’t have to be a pain. In fact, it’s an inspiring creative process. This blog post outlines how to plan a photo shoot from start to finish.
So…. if you’re new here you may be wondering what makes me qualified.
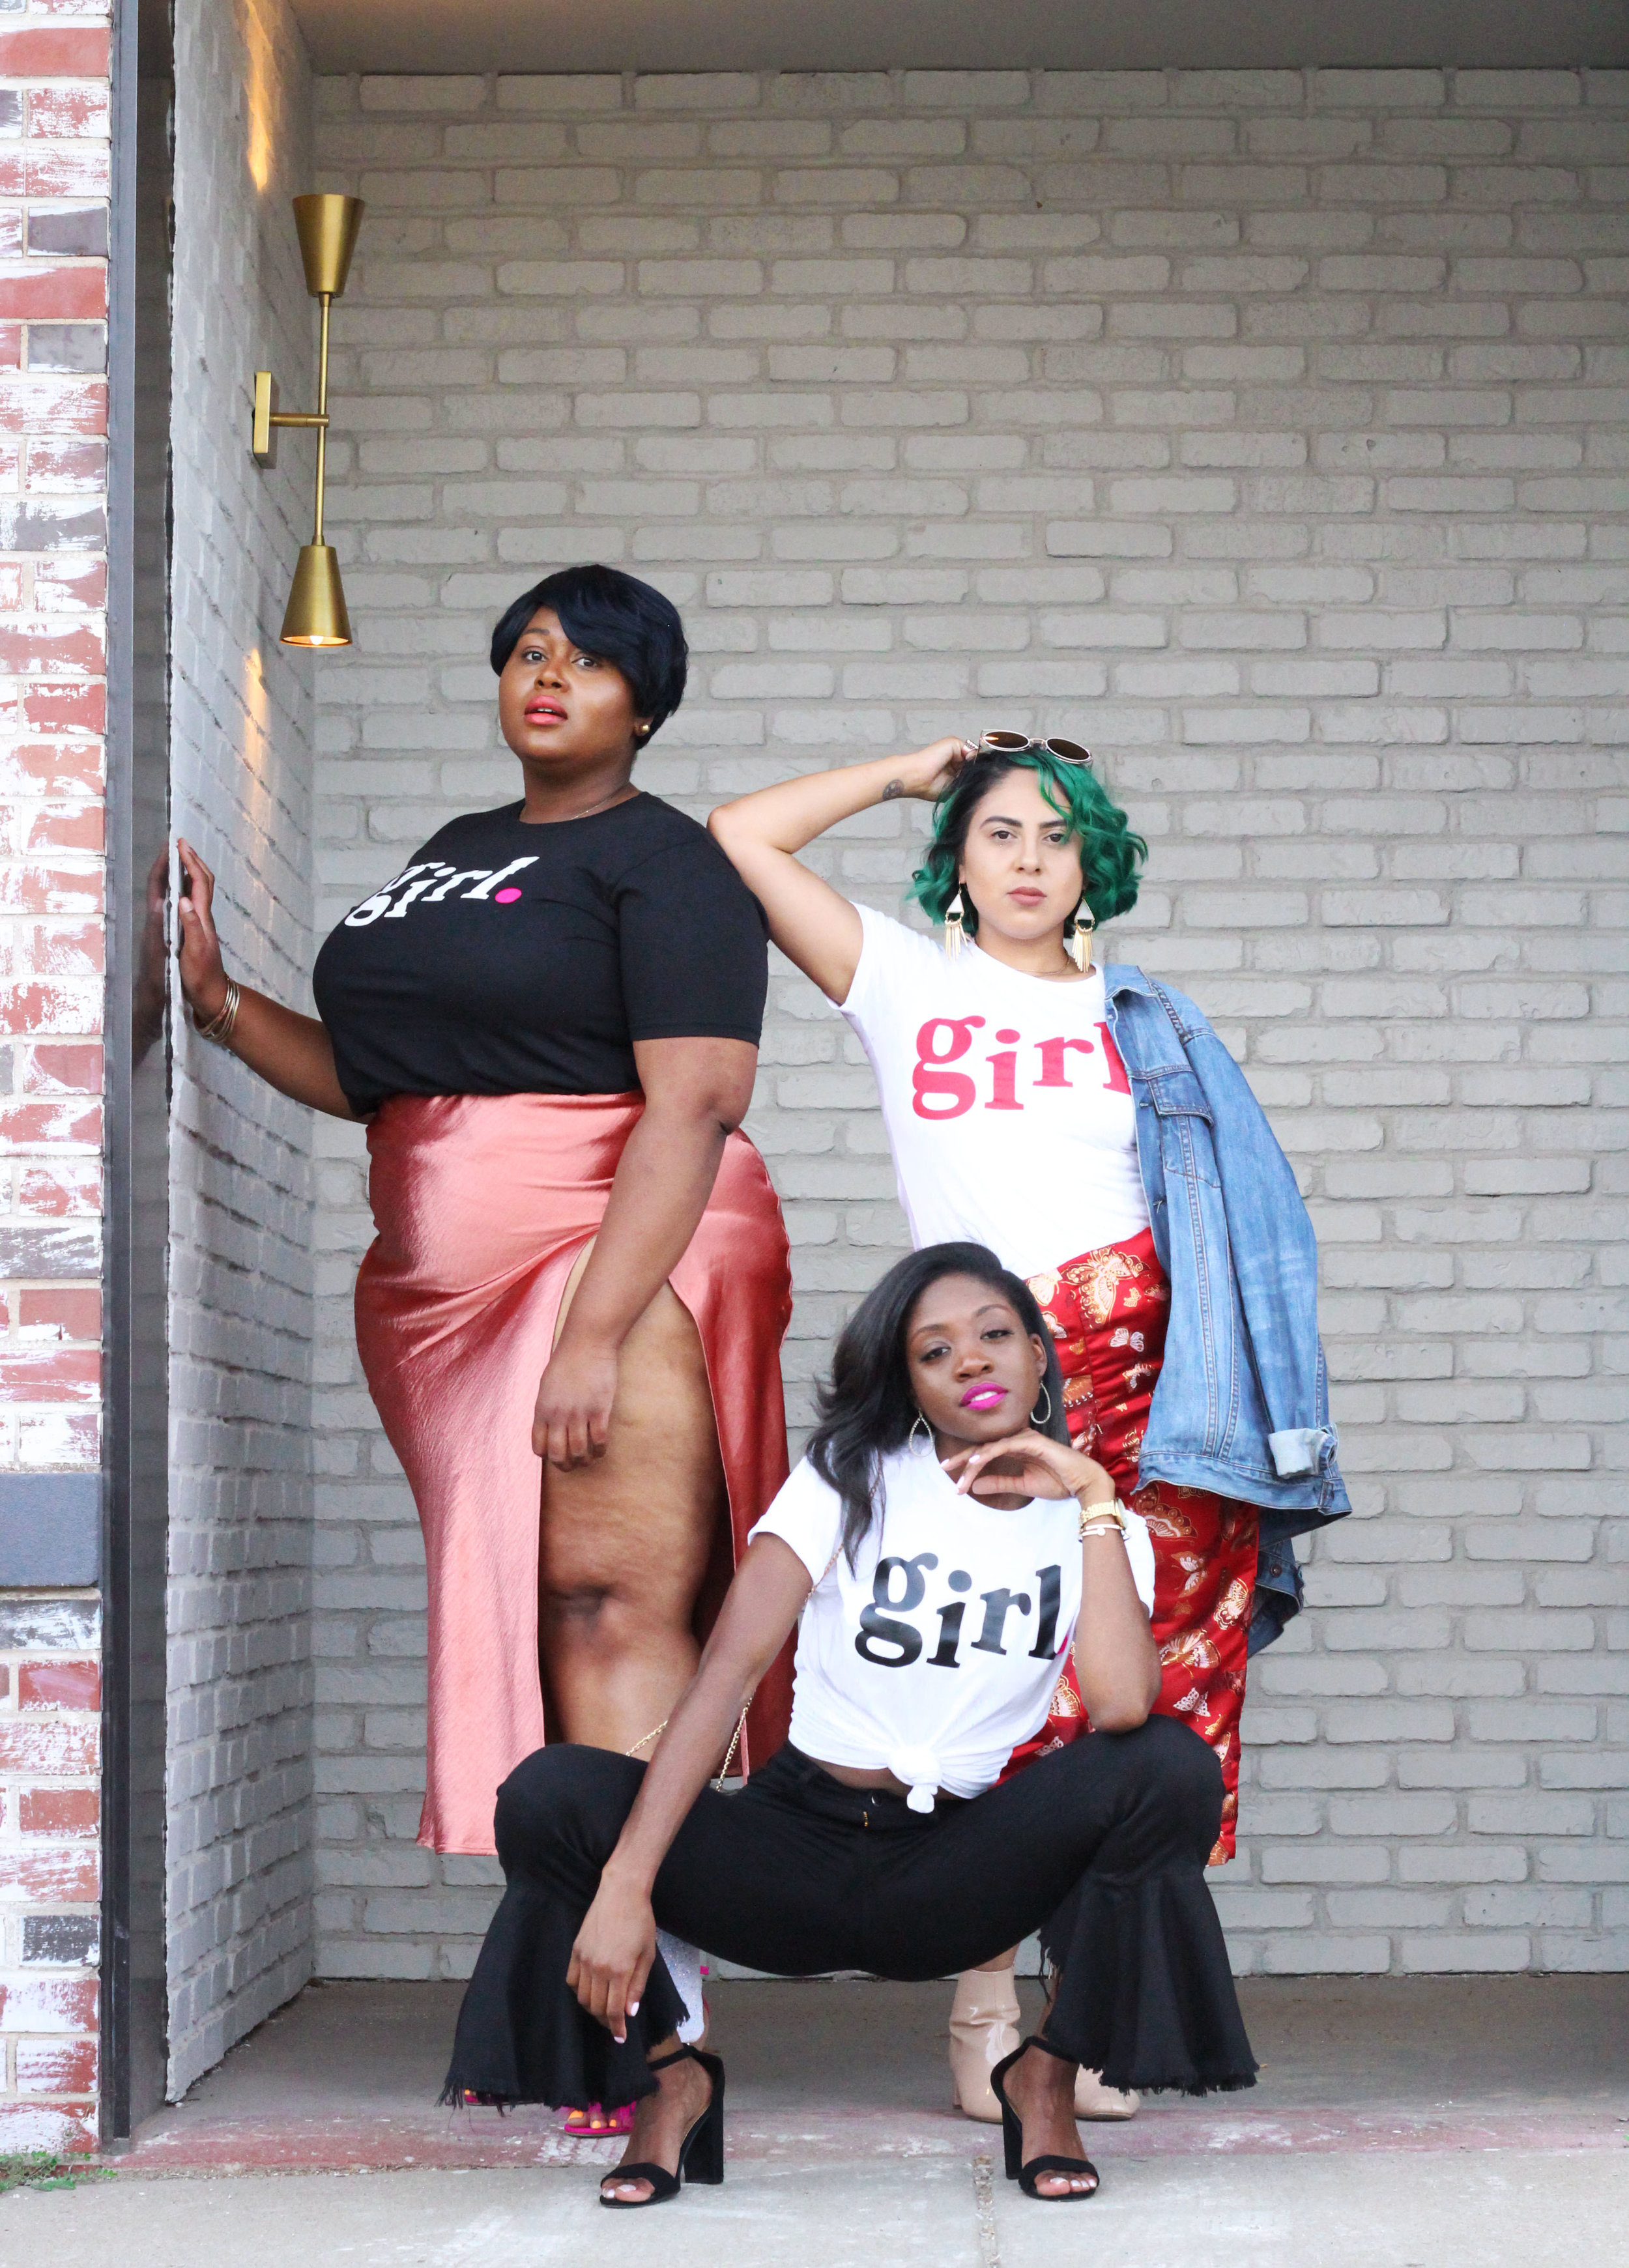
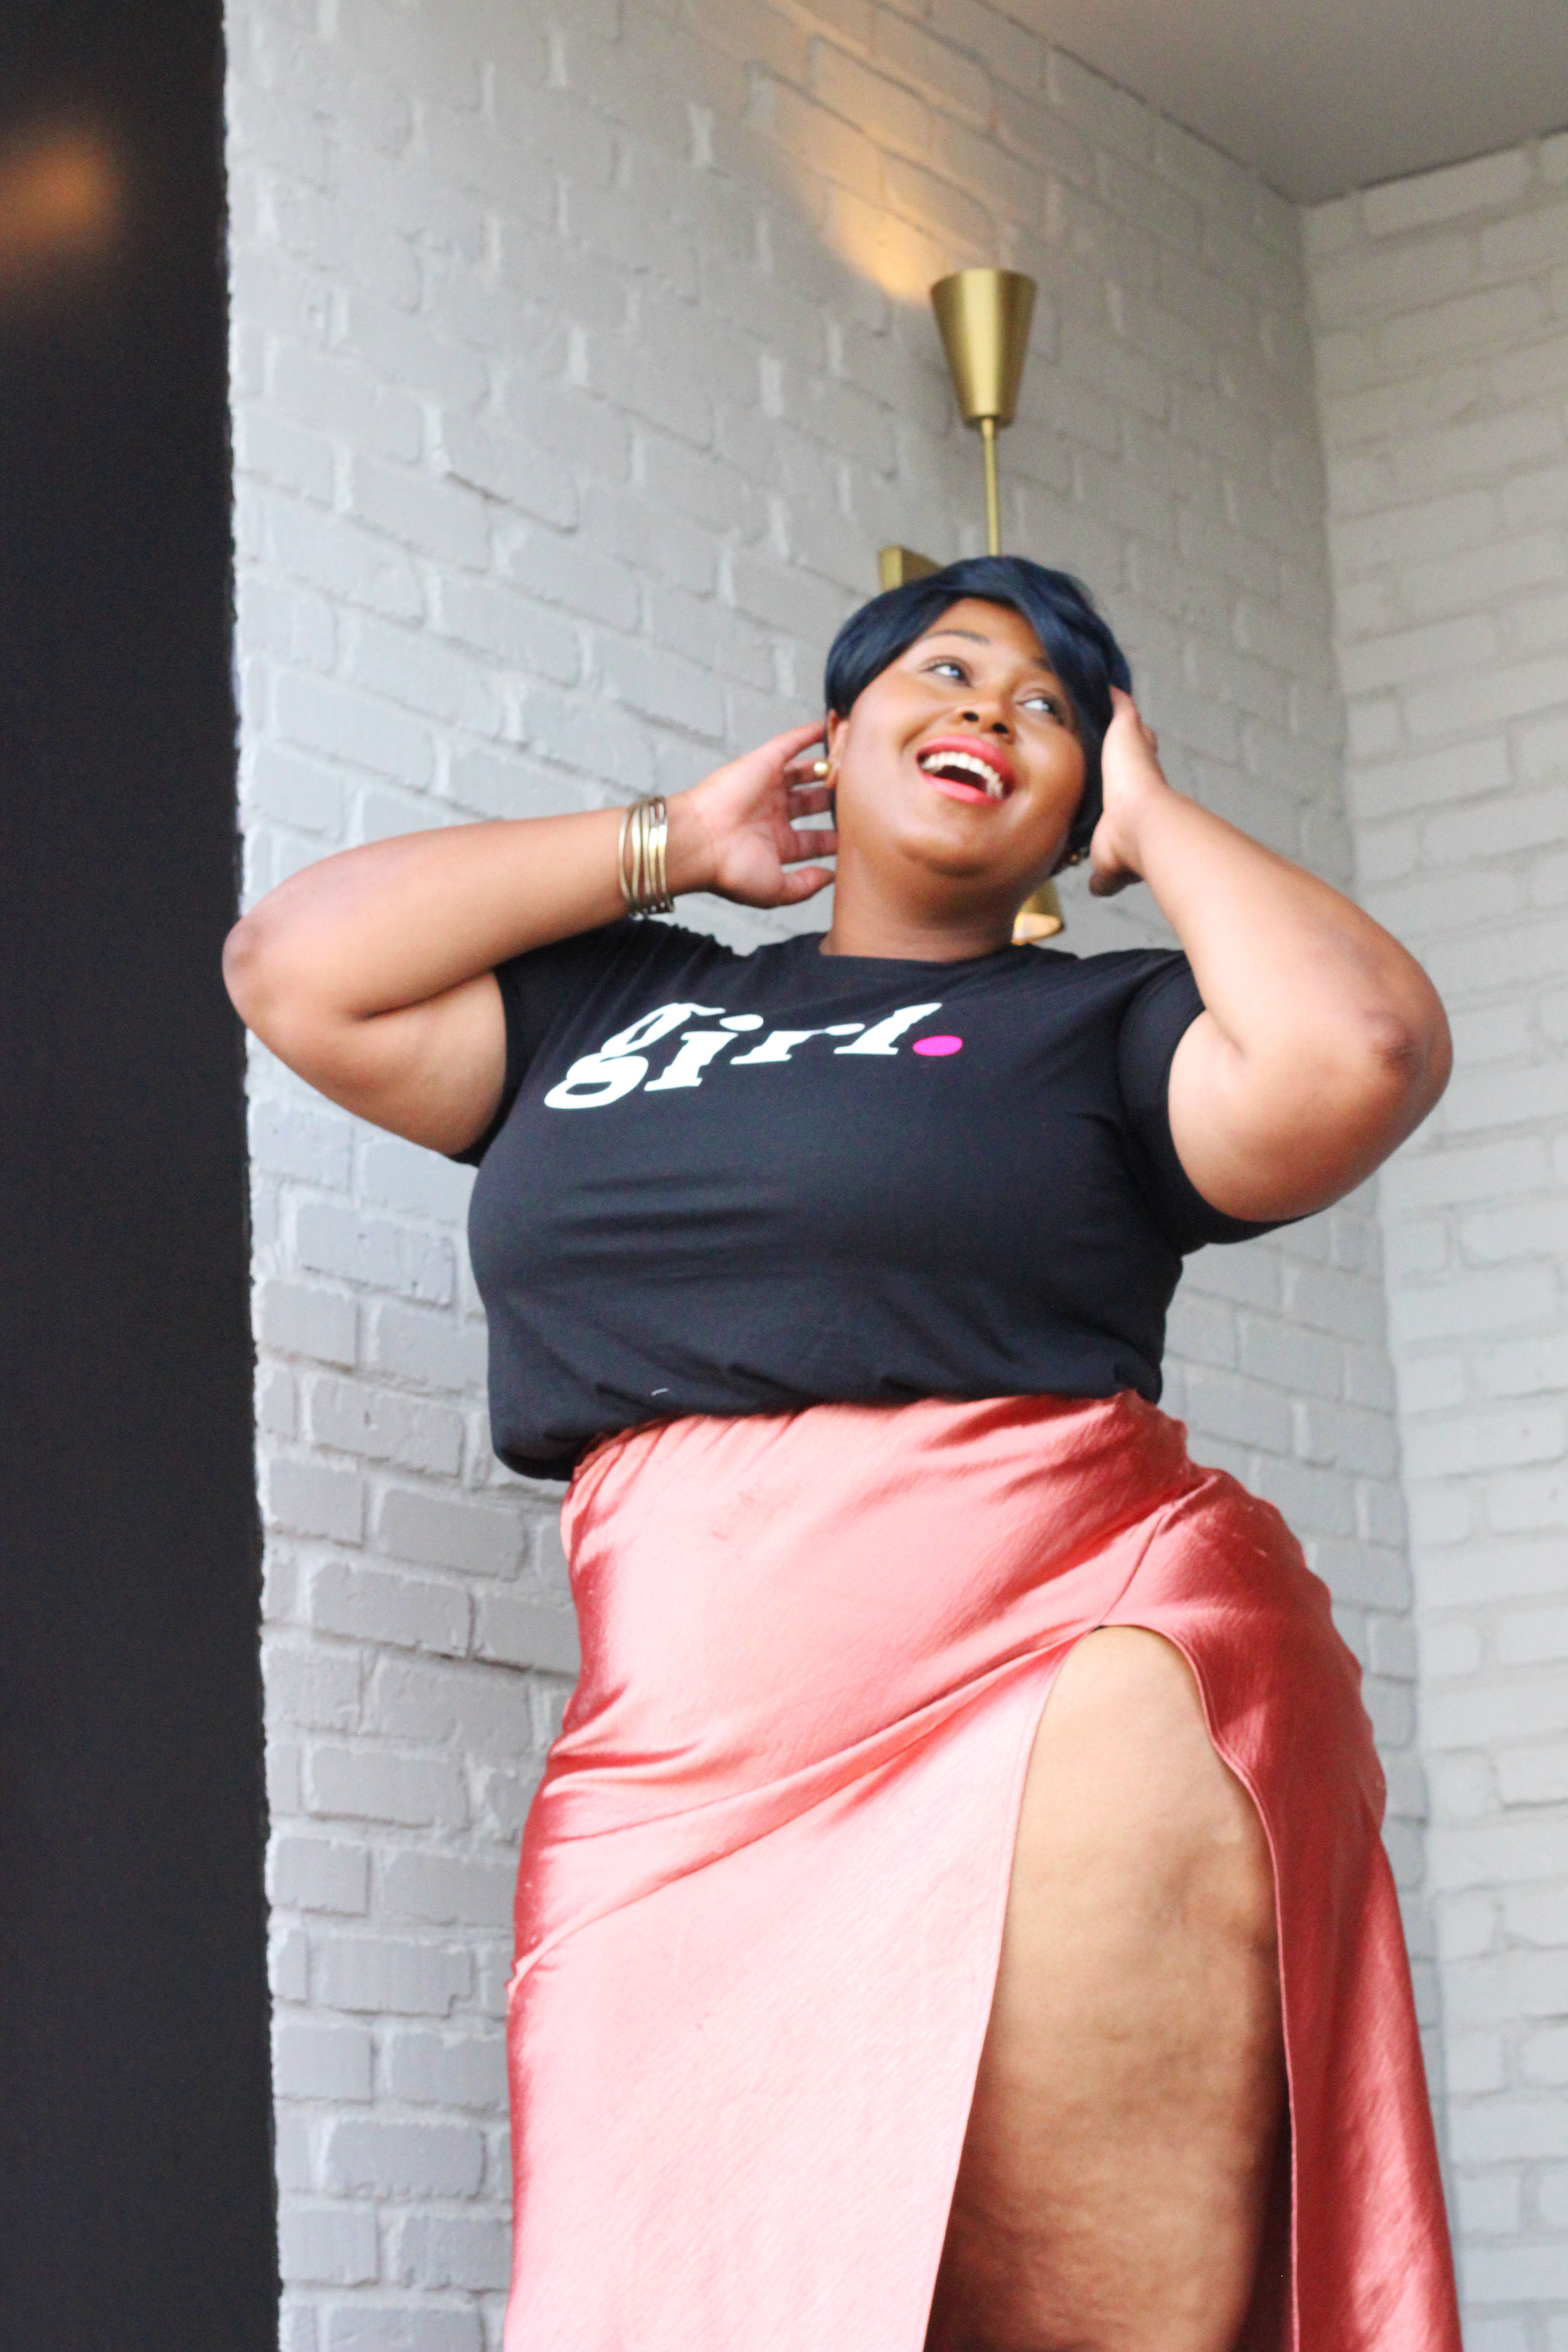
I recently executed a photo shoot for my t-shirt brand, My Girl Story, to have a brand photoshoot to elevate my brand visuals. The shoot took about 10 hours including prep time and image editing. This was my first time coordinating a photo shoot for my brand. Before this shoot, I only shared consumer images in my tees and memes online, @mygirlstories.
Keep scrolling to read my step-by-step guide to planning a photo shoot for your clothing brand.
Step 1: Create Merchandise
You need merchandise on hand to shoot in. If you're working with a small budget, like I was, then reach out to people who already own your merchandise. If you're a new brand without any previous customers, then order select sizes for your models to wear during the photo shoot.
Step 2: Find Models
Most girls love to take pictures, myself included, so I decided to use my friends as models. You can look for local models on Instagram or via your network. Choose models based on your brand message. My girls are diverse and have empowering stories and that's what My Girl Story is all about. If you're an athletic brand, look for local athletes with pretty faces. Don't be afraid to reach out via DM. It works.
Step 3: Make a Mood Board
I chose to make a mood board once I picked my models to give them an idea of what to wear. If you are hiring a stylist you should have a vision in mind prior to selecting models, to help the stylist pull clothes for the photo shoot. You can create a mood board using images from Pinterest and then make them into a pdf to send out to everyone involved with your brand photo shoot.
Step 4: Scout Locations
Scout locations that fit within your mood board. Here are a few things to consider when location scouting:
Parking for photoshoot participants
Traffic volume
Business hours (If shooting inside a local business that services patrons.)
Find a Photographer
Now that you've got your visuals in place, it's time to look for a photographer to bring your vision to life. Search for photographers with aesthetics like yours and within budget. You want to work with someone who can see past your vision to create eye-catching images for your brand. Be picky. Here are a few of my favorites:
Step 6: Set Photo Shoot Date
Choose a shoot date and time that works for everyone involved. You might find it beneficial to choose a date before picking models. I chose my models and date then we decided on a time together.
Step 7: Execute the PhotoShoot
Yay! The actual photo shoot date is the best. Make sure you are on time and have a few extra hands on duty. My assistant is always second in command to any volunteers that I need. You can use extra hands on set to take #bts photos, create Instagram Stories, go live on Instagram or Facebook, help models change into different looks, park the car, hold lights, etc. Extra hands are always a good idea.
Step 8: Edit Images
Now that the shoot is over, it's time to edit the images. Refer to your mood board for inspiration while editing or guiding your photographer.
Step 9: Create a Plan for Image Sharing
It's finally time for the big reveal.... drum roll, please. To keep the buzz going from your shoot, release images in small doses. Do not allow models to release pictures before you. Put the image rollout on a specific cadence to make your audience want to tune in.
Step 10: Share Images
You made it to the end. Whoo hoo! Now you can finally share your images. Use your images on social media, your website, email headers, business cards, etc.


